The Safety-Pin Surgery: Ten Kitchen-Table Rescues for Party Costumes
There is a particular kind of December 2026 panic that happens at 7.40pm, with a costume half on and half off, a taxi due in twenty minutes and a strap that has clearly decided it wants a different career. The kitchen table then becomes a triage unit: scissors, safety pins, a mug of tea going cold and someone saying, very calmly, that it will be fine.
It usually is fine. Most party-season costume problems are not tailoring emergencies. They are small engineering wobbles, and a surprising number can be solved without threading a needle. This is the kitchen-table alteration station: a cheerful, low-drama approach to rescuing costumes that are almost right.
First, build a tiny rescue kit
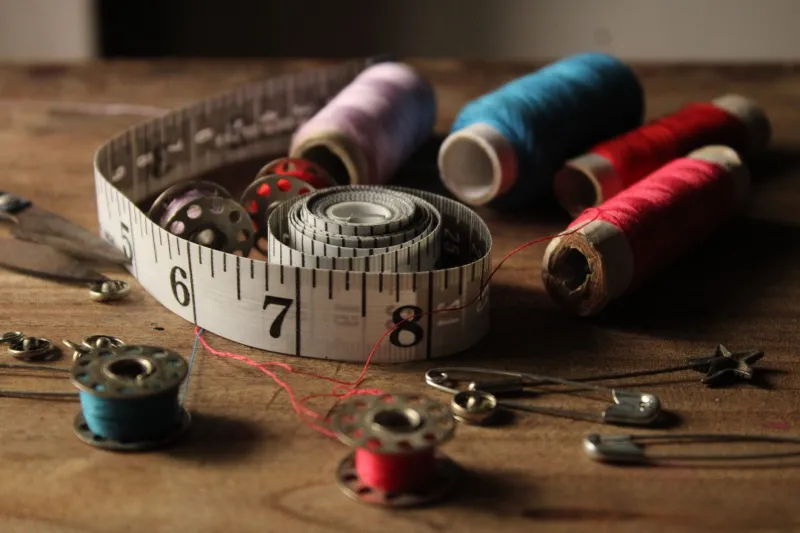
You do not need a sewing box the size of a suitcase. A small tin or zip pouch with the following will cover most emergencies: safety pins in two sizes, iron-on hem tape, fabric tape, clear elastic, a couple of hair ties, mini scissors, tweezers, fabric glue, clear nail varnish, a lint roller, a small brooch and a length of narrow ribbon. Add a chalk pencil if you have one. Keep it in the same place, so future-you is not rummaging through the kitchen drawer while wearing one boot.
Always test any adhesive or tape on an inside seam first. Sequins, satin and cheap metallic fabrics can react badly to heat or glue. And keep glue away from skin-contact areas, especially on children's costumes.
The ten rescues
1. Straps that slide off shoulders
Cross the straps at the back and secure with two small safety pins, or use a tiny piece of fashion tape on the shoulder. If the costume is heavy, pin the strap to the inside of the bodice rather than relying on tape alone. For a quick visual fix, a brooch can gather a wide neckline and make the slip look intentional.
2. Hems doing a runner
Turn the hem up to the length you want and press it with iron-on hem tape, following the packet carefully. For a temporary fix, fold the excess inside and secure it with a few safety pins placed vertically, then cover the pins with a ribbon or trim. Do not drag the costume over rough floors afterwards; hem tape is a helper, not a miracle.
3. Waistbands with a gap
Thread a ribbon through the belt loops and tie it at the back, or use an elastic hair tie to cinch the waist between a button and a loop. If there are no loops, gather a section of fabric at the back and pin it from the inside, then add a wide belt to hide the surgery. Avoid pinning through a zip.
4. Sleeves swallowing hands
Turn the cuff back and secure it with a small piece of hem tape or a hair tie hidden inside the sleeve. Check that the cuff does not restrict the wrist or trap heat. If the sleeve is heavily embellished, a simple fold and pin may be kinder than glue.
5. Necklines with a mind of their own
Use fashion tape along the edge, or pin a piece of soft lace or plain fabric behind a gaping neckline as a modesty panel. A brooch can also gather fabric neatly at the centre. Test tape on sequins first, as it can lift the finish.
6. Loose trims, sequins and appliqués
Apply fabric glue in tiny dots with a pin or cocktail stick, press the trim down and weigh it with a mug while it dries. A loose thread on a sequin can be dabbed with clear nail varnish to stop it travelling. If the trim is near a child's neck or wrists, secure it flat rather than leaving pins exposed.
7. A zip that has given up
Loop a ribbon or paperclip through the zip pull so it can be reached, and pin the placket closed for photographs. If the teeth have split or the pull has come away completely, this is usually the point to stop. A costume that cannot be securely fastened is not worth a draughty journey home.
8. Buttons and fastenings
Dab clear nail varnish over the thread of a wobbly button to hold it temporarily. If a button is missing, pin a brooch over the spot or use a safety pin behind the fabric. For children's costumes, check that any replacement fastening cannot be pulled off and swallowed.
9. Shoes and boots that will not stay put
Add heel grips or roll a small piece of tissue into the toe of an oversized boot. Anti-slip pads on smooth soles can make a costume shoe safer on kitchen floors and venue stairs. If the shoe rubs, pinches or turns the ankle, abandon it. Party photos are not worth a blister.
10. Drooping wings and wobbly headpieces
Use ribbon to create a simple harness, or pin the accessory to a hidden base layer rather than the costume itself. For headpieces, a strip of clear elastic under the hair can be more secure than a hundred bobby pins. If the structure is collapsing, remove it and carry it as a prop instead.
When to walk away
No-sew fixes are brilliant for fit wobbles and cosmetic snags. They are not suitable for structural damage, electrical parts, mould, smoke damage or anything that smells strongly of chemicals. Be cautious with vintage pieces, heavily beaded costumes and anything that will be worn by a child who might pick at pins. If the fix involves heat near delicate fabric, glue near skin, or a fastening that no longer holds, it is time to retire the costume.
A useful rule: if the costume needs more than two emergency fixes before you have left the house, it has already resigned. Reach for a back-up from the dressing-up box instead. That is not failure; that is good costume care.
The night-before test
Before the party, put the costume on and do the ordinary things: sit down, climb stairs, reach overhead, walk across the kitchen and give a modest dance. Ten minutes of testing will reveal more than an hour of hopeful pinning. Pack the rescue kit in a labelled bag and leave it by the door. Then put the kettle on, admire your handiwork and remember that the best costume is the one you can forget you are wearing.